Today let’s talk about how to set up a starting view in Revit project:
First, what is a starting view anyway?
Starting view is a view, that will be displayed, when you open a Revit file. That means that you (and others in workshared projects) will see this particular view every time you open up a project.
By default, the starting view in Revit file is set to be “The last Viewed”, that is the last view that you had opened when you closed the file.
In Revit, you can set up a specific view to be a starting view, so that when you open a Revit project, you will always see the same view.
Why is it good to set up a custom starting view?
- It can speed up opening of the project if set up right
- Can be used to communicate important information to all team members from the same place, and make sure everyone sees them
So how can you set up starting view?
You can find starting view under Manage tab:
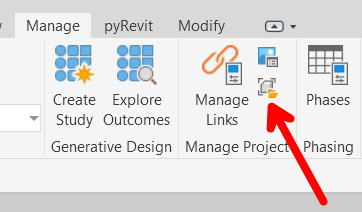
When you click on this icon it will open a Starting View dialogue:
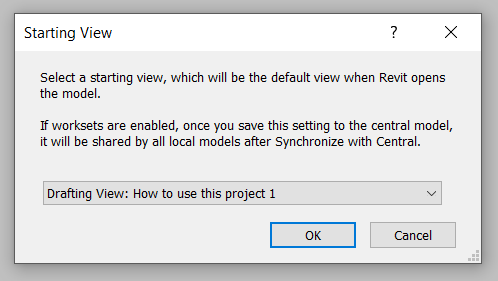
Here you can just choose which view from the project you want to use as a starting view. Then when you save to model, close it and open it again you will always see that view the file opens.
Few tips at the end
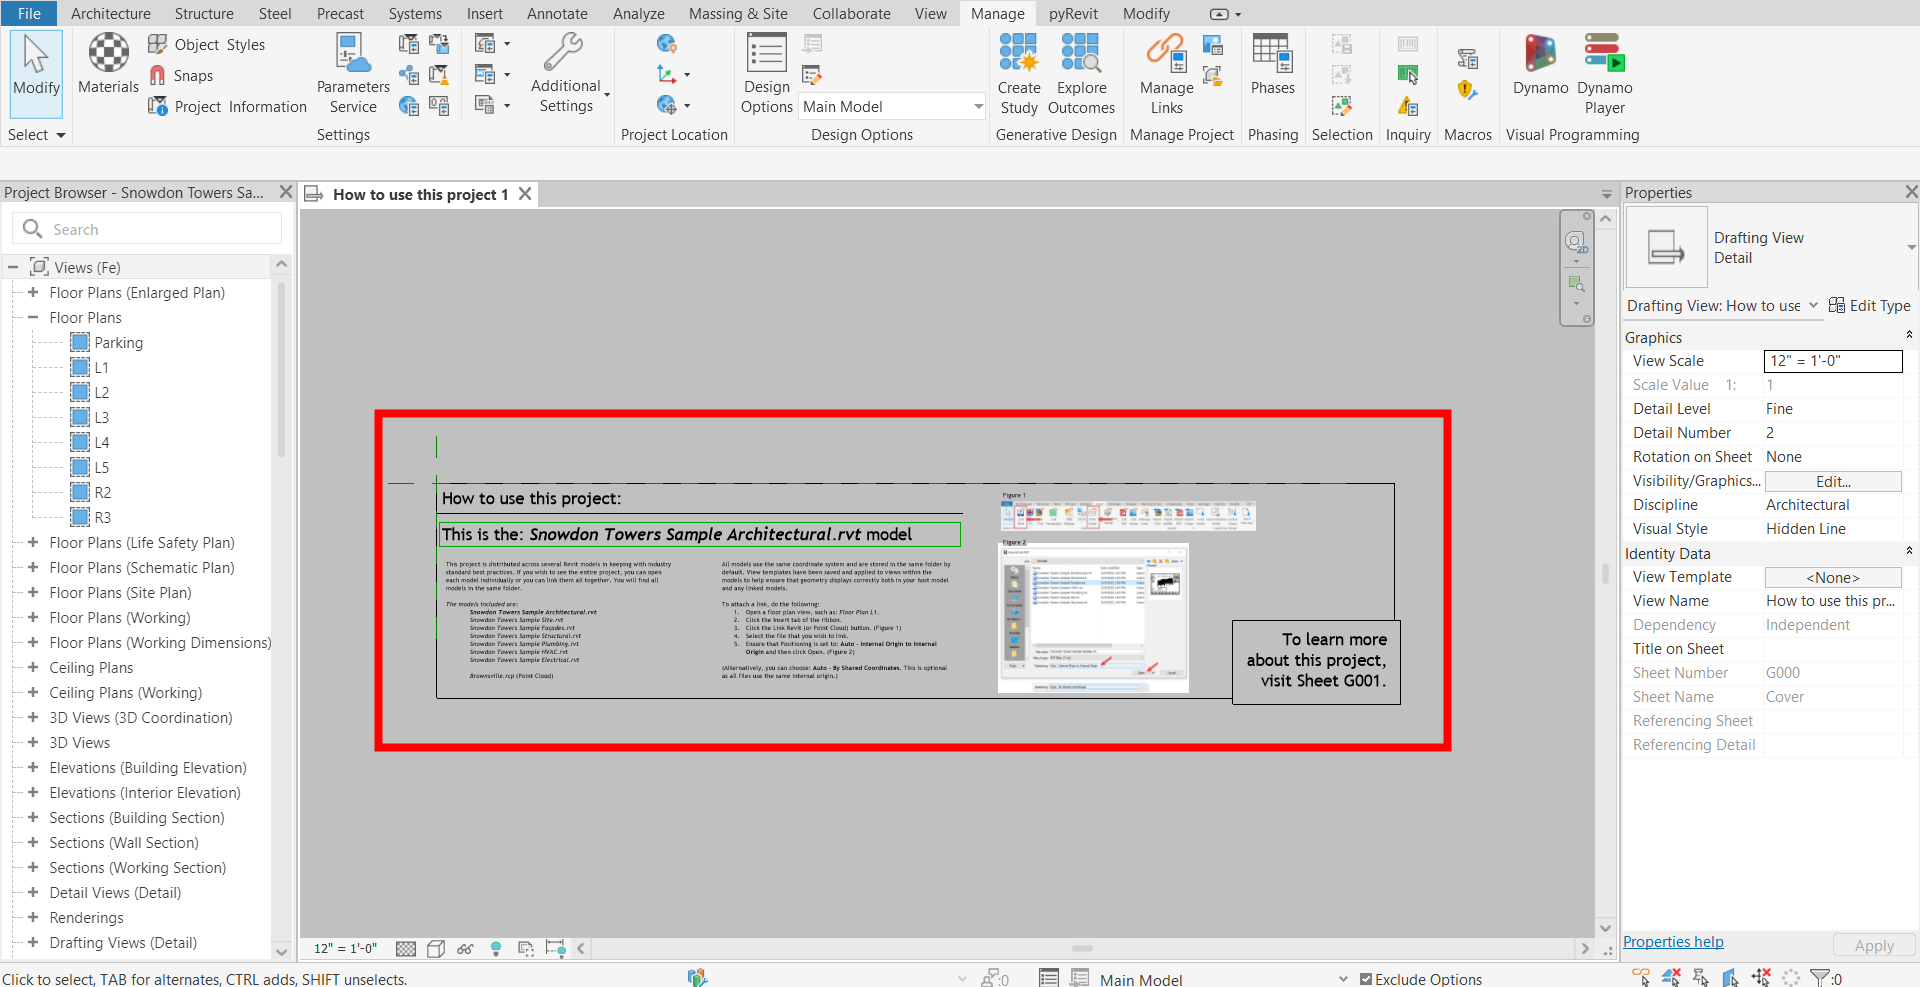
When deciding which view to use as a starting view it is best to use simple views with the least amount of geometry, because you can speed up the opening time of the project this way. I personally recommend to use views with only text notes and/or some simple 2D graphics. Worst case scenario when it comes to opening speed it to use a 3D view as a starting view, because Revit must load a lot of information right on start up.


Leave a Reply
You must be logged in to post a comment.