Let’s take a look on how you can create a concrete stair with notch in Revit. It can be little bit tricky, because Revit stair tool is quite hard to comprehend. So let’s just jump straight into it:
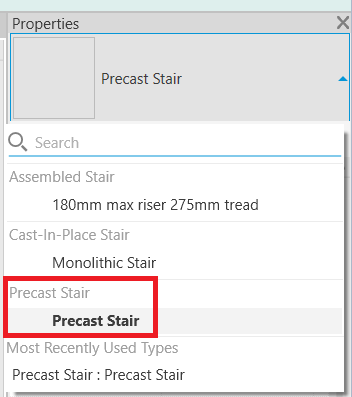
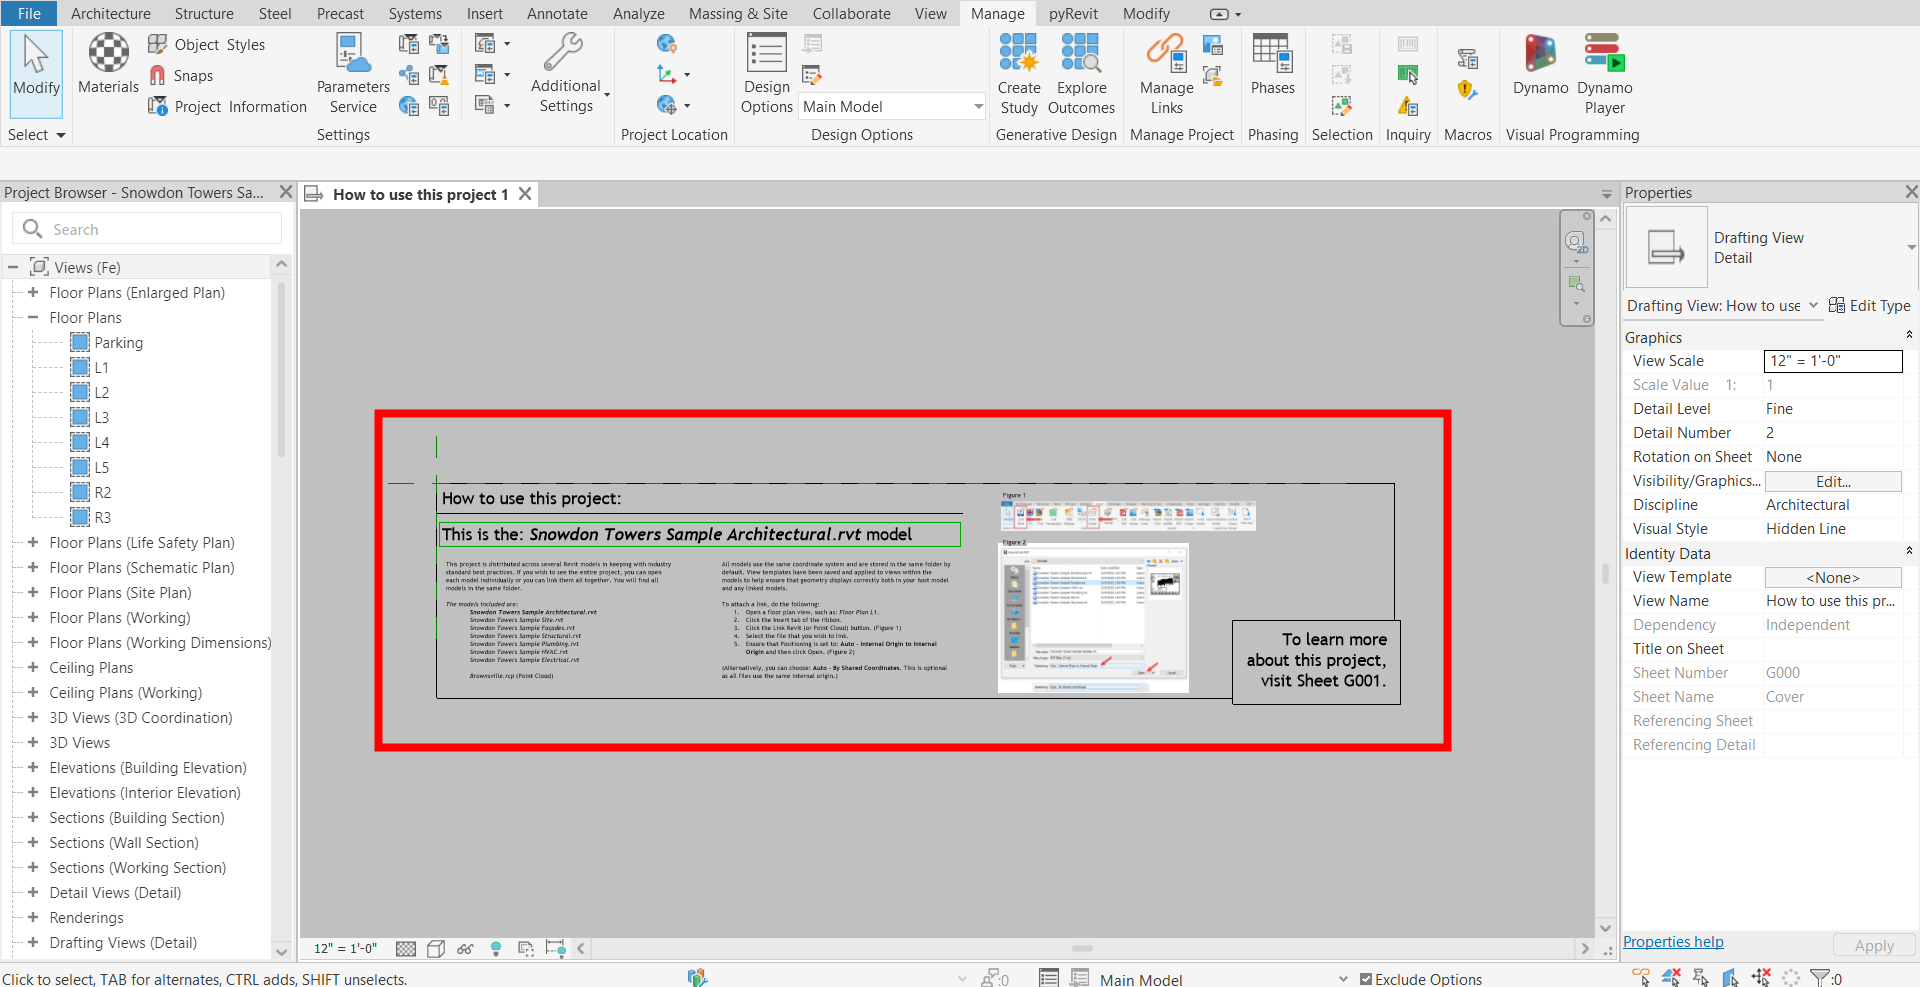
First of all, you have to make sure that you are using the right type of stair:
In the type selector make sure you are using Precast Stair type, otherwise it will not work
Next, navigate to type properties and select that you want to create a notch:
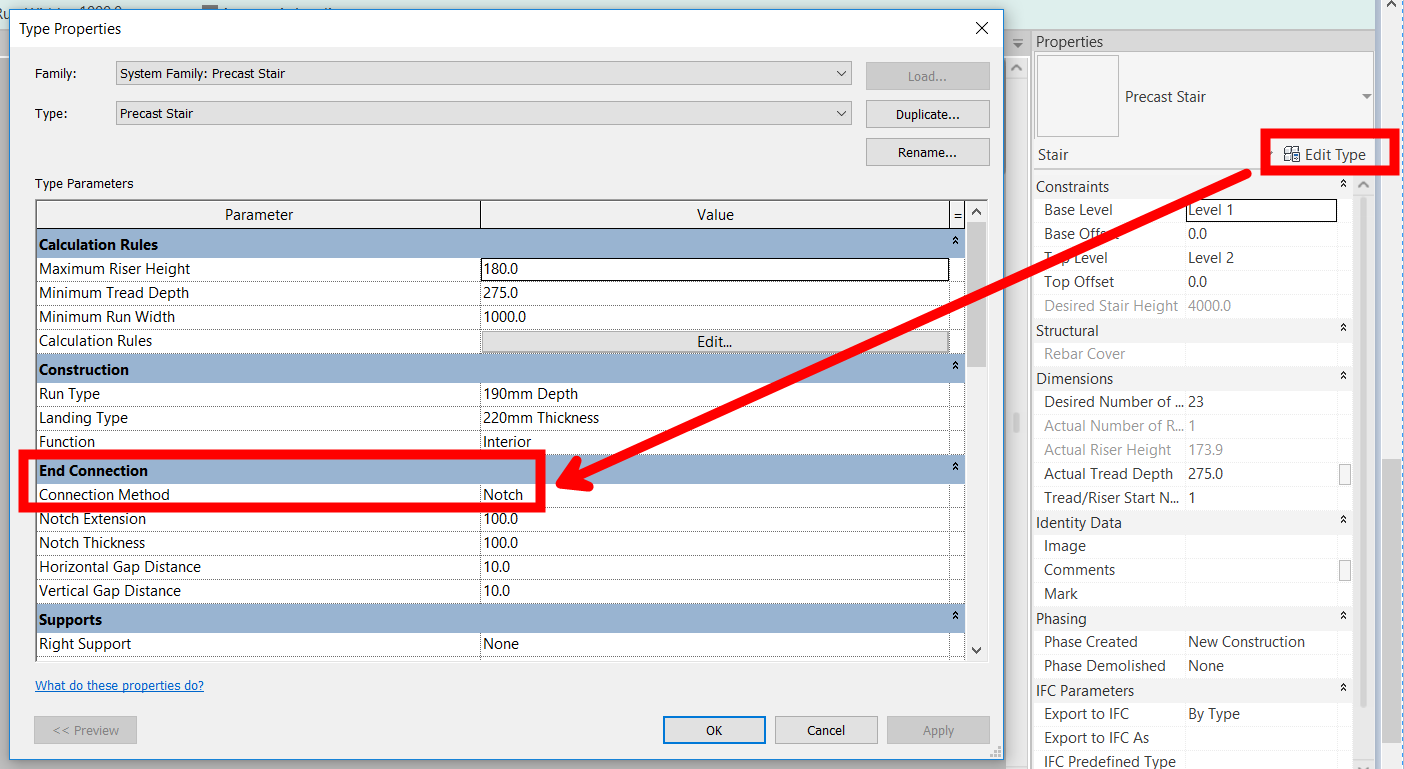
Understand notch properties:
Notch extension:
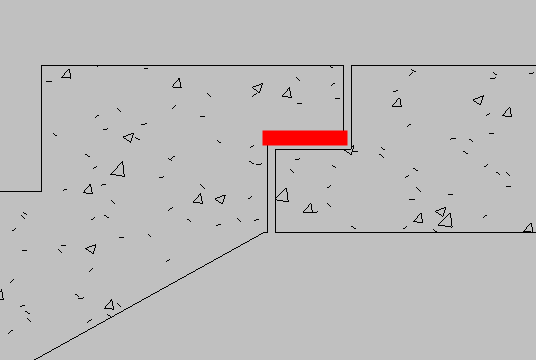
Notch thickness:
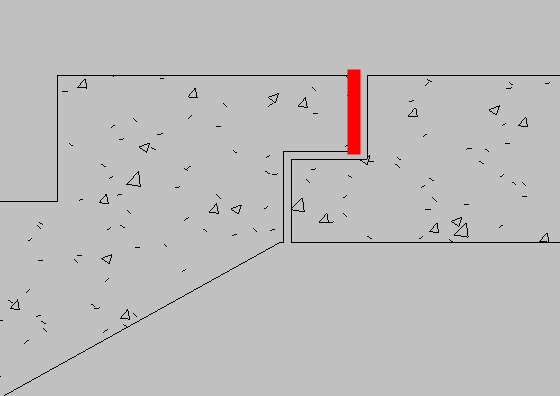
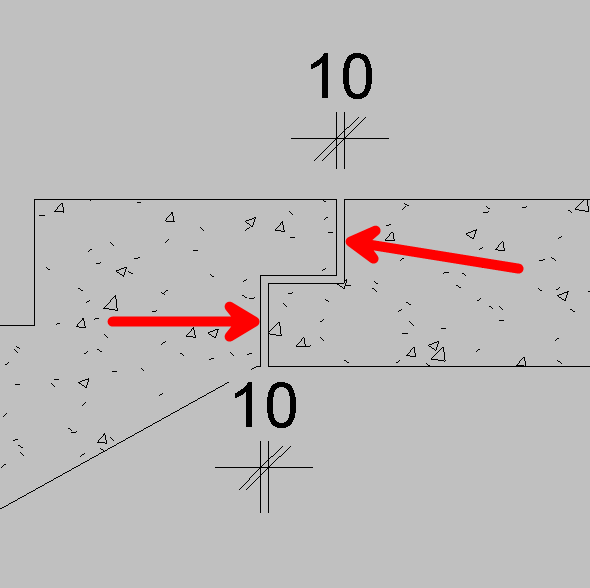
Horizontal gap distance:
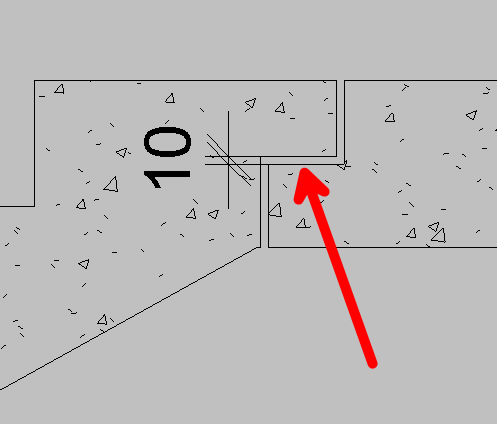
Vertical gap distance:
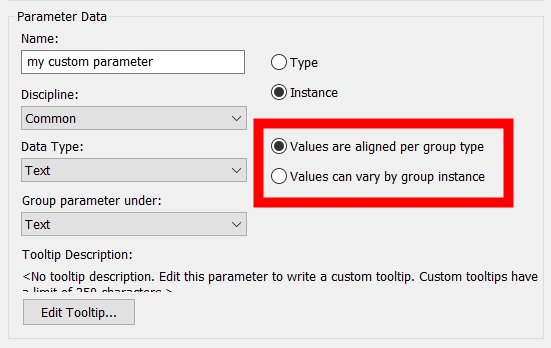
Make sure you begin and end the stair with tread:
For notch to be created your stair run have to start and end with tread . If you begin or end with a riser, notch will not be created. This is an instance property of the stair run itself.
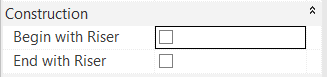
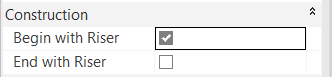
Stair run that begins with riser = no notch

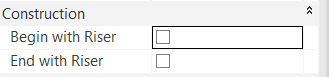
Stair run begins with tread = notch created
Last thing to set is the notch for the first stair run:
To create a notch for the first stair run of your stair, it will not be enough to start the run with tread. You also have to specify Extend below riser base parameter value. So let’s see the combination in action:
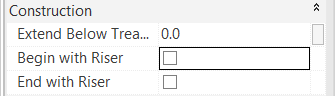
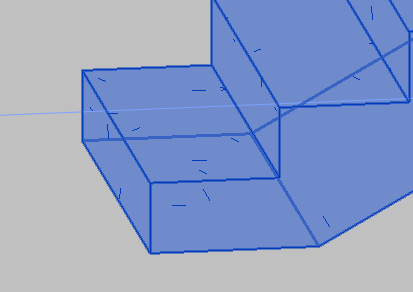
Begin with tread and Extend below tread base set to 0
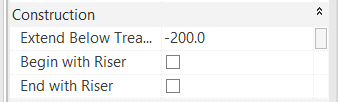
Begin with tread and Extend below tread base set to -200
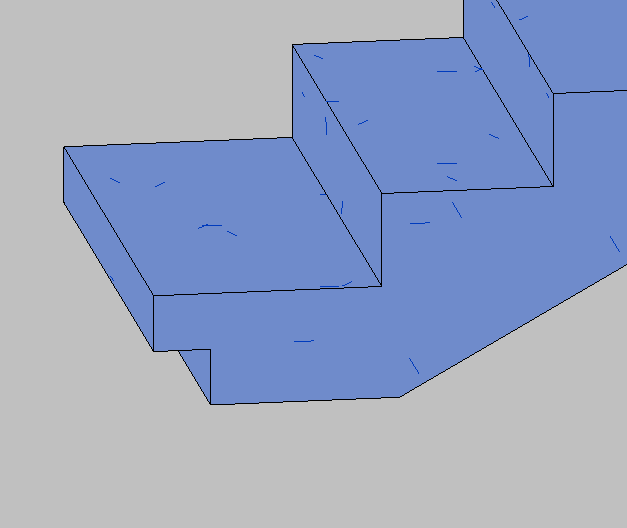
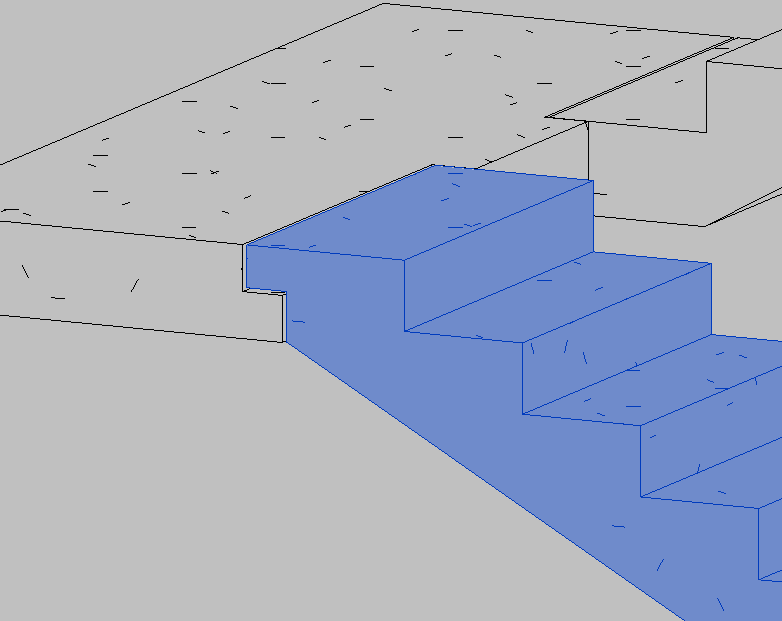
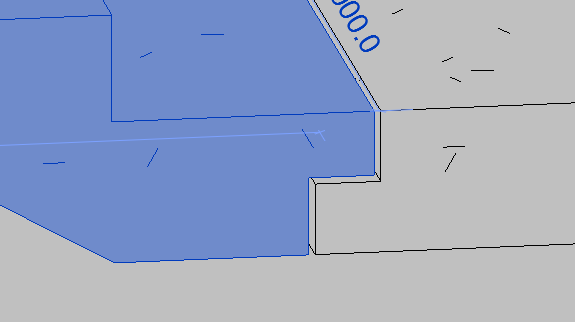
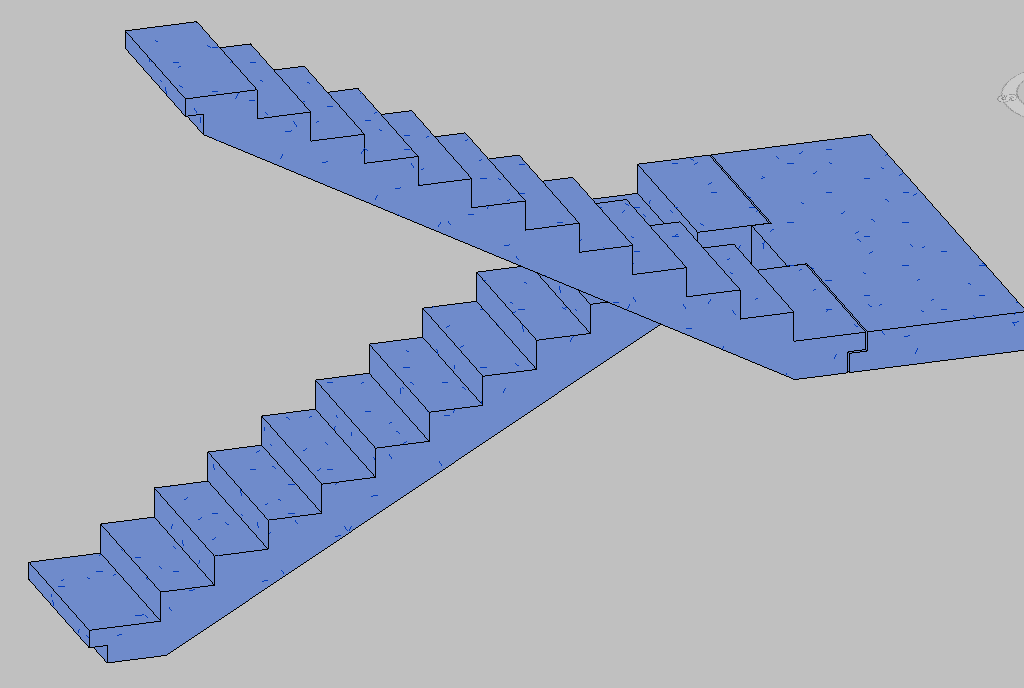
At the end you should have concrete stair with notches on stair runs:
All of the steps above should give you a result, that looks something like this:
There is a delicate balance of settings when creating stairs with notch in Revit with the native stair tool. There is one more thing to consider when changing the parameter values and that is how settings for Begin with riser and End with riser parameters affect the overall geometry of the stair, and we will take a closer look on that in the next article.
Leave a Reply
You must be logged in to post a comment.