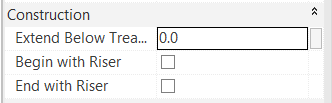
Let’s take a look on how the settings for Begin with Riser and End with Riser parameters affect the overall geometry of Revit stairs. When you are playing with those two parameters, it is changing the calculation of total number of risers, and can lead to the stair, that either has too many risers, or has too little and can result in wrong height of the stair. These settings are also important if you want to create a stair run with notch, which we have discussed in the previous post.
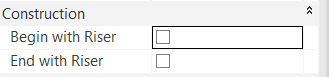
Where to find those parameters
The mentioned parameters are instance parameters of stair run itself, not of stair as a whole.
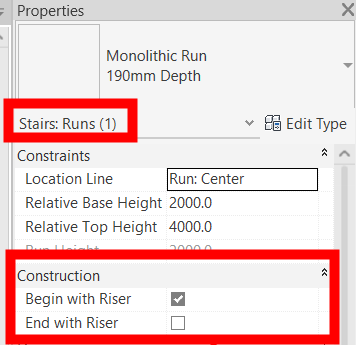
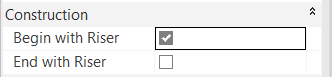
Let’s now talk about Begin with Riser
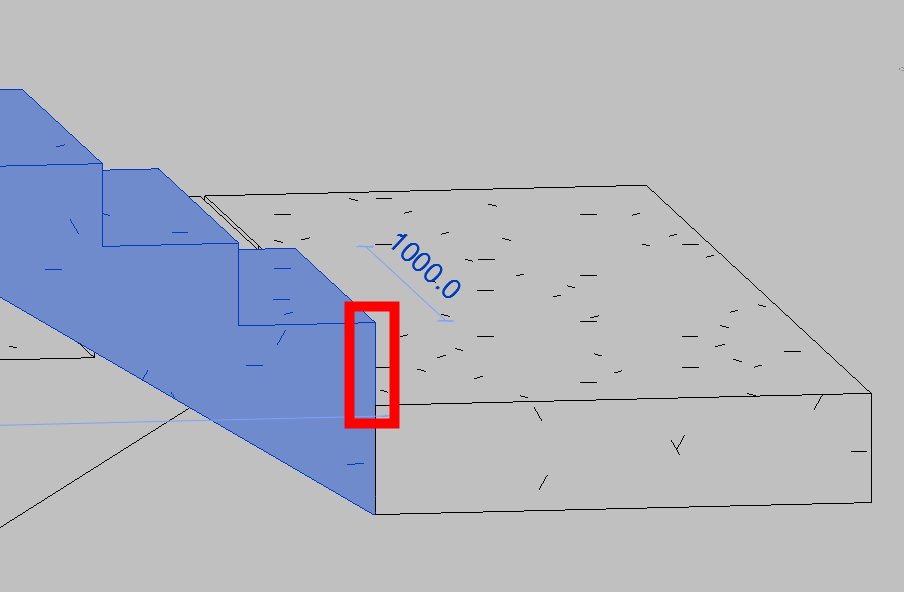
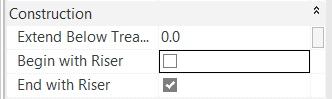
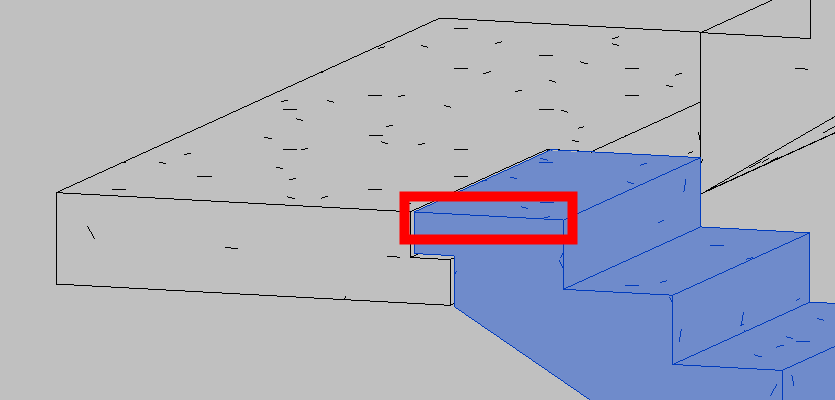
If our stair run has this parameter set to yes, the stair run begins with riser. As you can see in the picture below, on the intersection of the stair run and stair landing, the stair run starts with a riser.
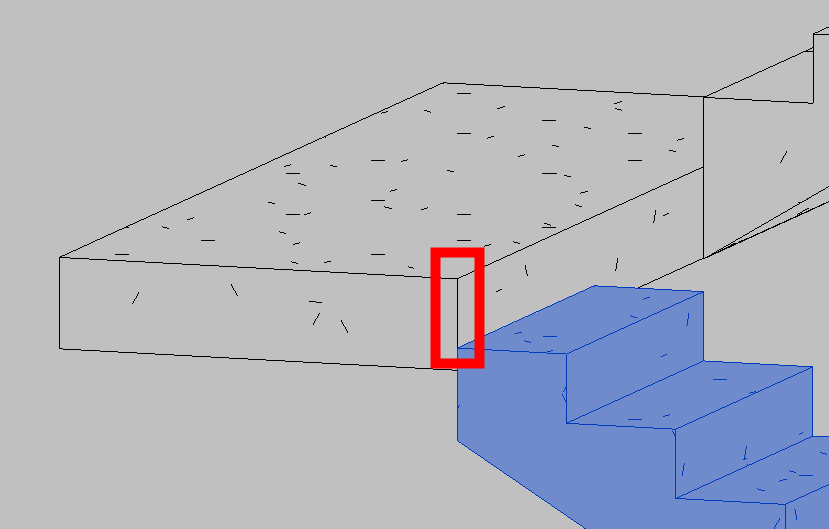
If this setting is set to no, the stair run begins with tread. As you can see in the picture below, on the intersection of the stair run and stair landing, the stair run starts with a tread.
End with Riser parameter
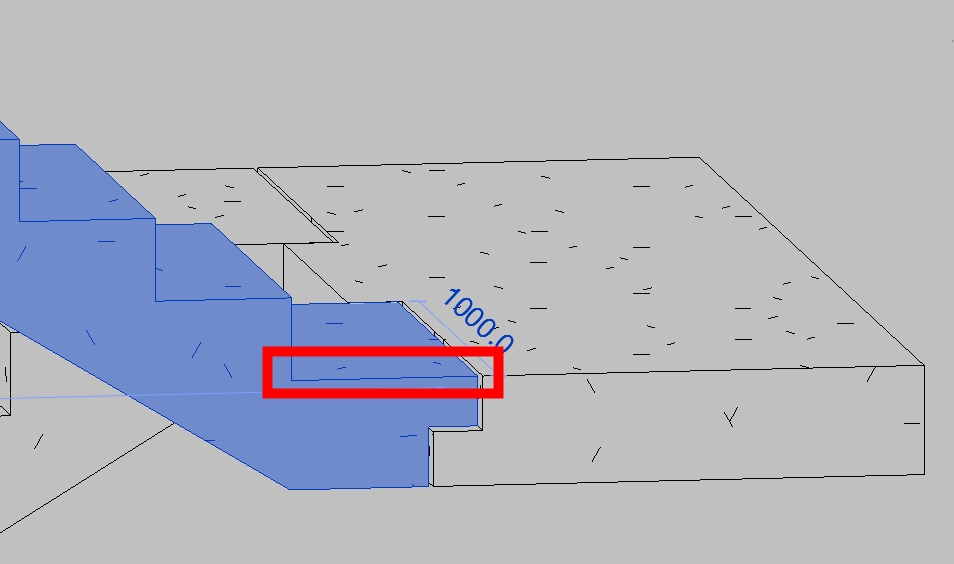
End with Riser parameter setting is similar to Begin with Riser. If it is set to yes, the stair run ends with a riser.
As you can already see in the picture above, there is something happening with the geometry. You can see that the last riser is not actually created in the stair run, but it is “calculated” from the difference of the last tread and stair landing surface.
If set to no, stair run ends with a tread as seen in the picture below.
Now let’s take a look on how it affects overall geometry of stair
In this example the stair is set in this way:
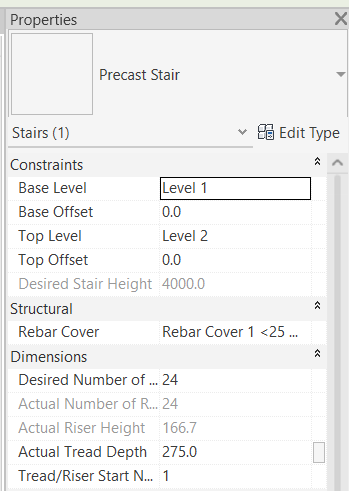
Stair settings:
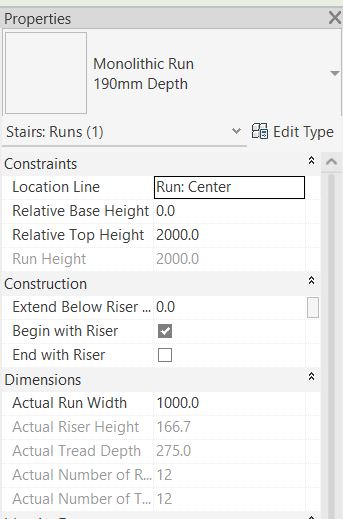
First stair run settings:
Second stair run settings:
What interests us from all of those settings is mainly Actual Number of Risers for stairs. And for the stair runs it is Relative Base Height, Relative Top Height and Actual number of Risers as well as our Begin with Riser and End with Riser settings.
Let’s now change first our first stair run that is will not begin with riser. When you do this in Revit, you will get a warning, that is already trying to tell you, that something is wrong.

Now let’s see the result:
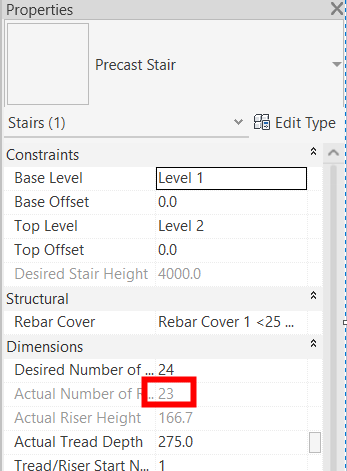
Stair settings:
First stair run settings:
Second stair run settings:
As you can see, it has changed the Actual Number of Risers in our stair, and now the stair is missing one riser to actually reach the desired height of 4000. So now we need to manually change the settings to correct for this.
Changing the settings
In this example we will change the Relative Height for the stair landing to be 2000, which will automatically change the Relative Top Height for the first run, and also Relative Base Height for the second run. This change will also automatically add one riser to our first stair run.
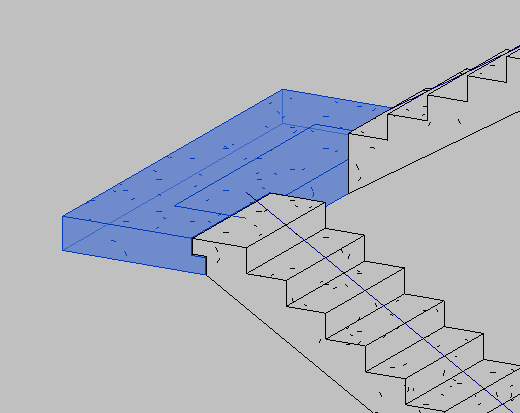
Go into Edit Stairs mode and select the landing first:
Then change the Relative Height parameter to 2000
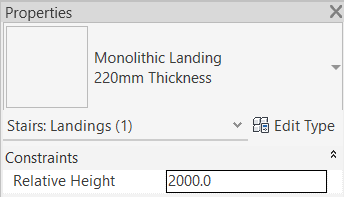
After this change the settings look like this:
Stair settings:
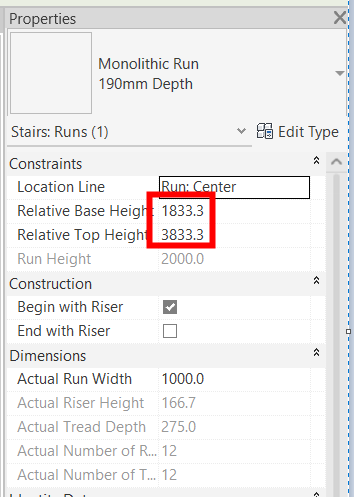
First stair run settings:
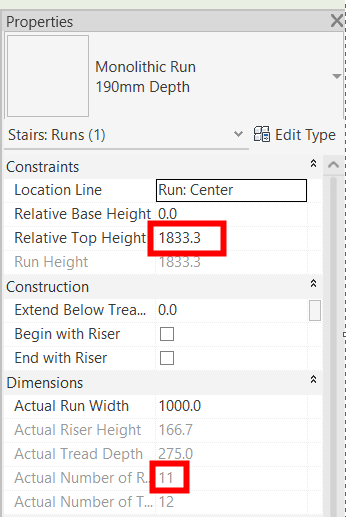
Second stair run settings:
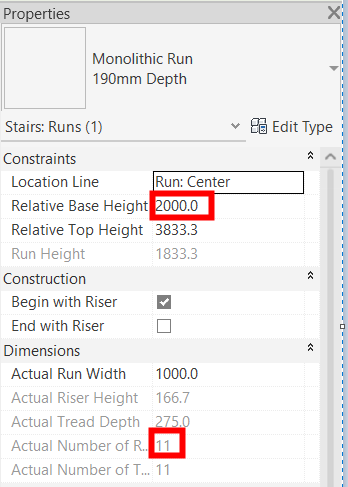
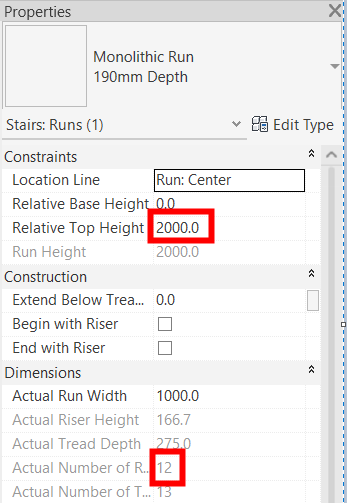
As you can see the Actual Number of Risers for the stair as a whole is still wrong, but first stair run settings are now correct. We have 12 risers and height of 2000 mm. The second stair run now has correct Relative Base Height, but the actual number of risers has fallen from 12 to 11. So wee need to correct that.
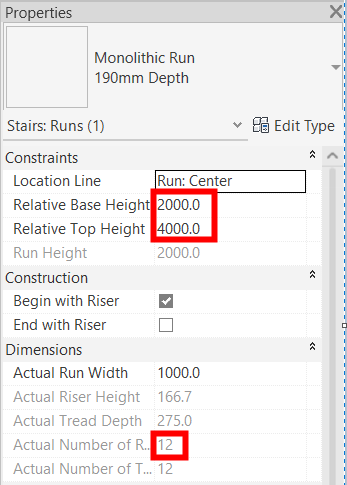
The easy way to do this is to change Relative Top Height setting for the second stair run to be 4000 (which is the desired stair height) and Revit will automatically add one riser for us, so that the overall stair geometry will be correct.
Let’s see the settings after the last change:
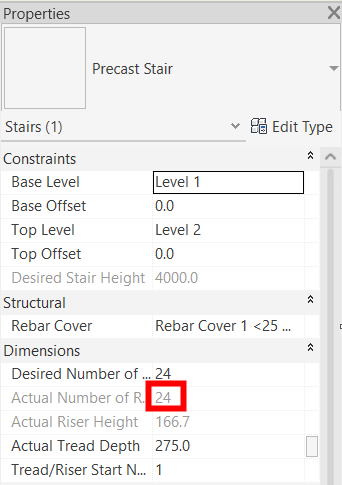
Stair settings:
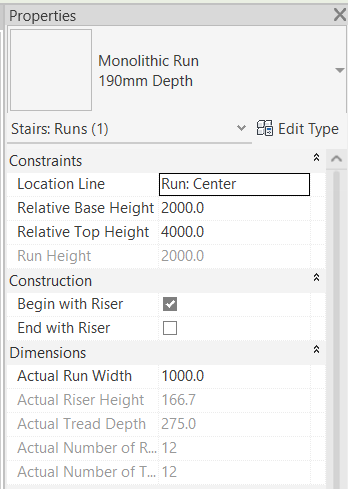
First stair run settings:

Second stair run settings:
So now you can see that we were able to correct the overall geometry of the stair in a way, that our stair has 24 risers, the stair height is 4000 and both our stair runs have 12 risers, which is the same as at the beginning of our example.
In conclusion:
When you modify the parameter values for Begin with Riser and End with Riser for stair runs, you have to be avare of the effect it has on the geometry of the stair as a whole. We have seen only one example where we have changed the first stair run to start with a tread and how it affected overall geometry of the stair. To correct for that we had to manually play with the settings for stair runs and stair landing.
When you do multiple combinations of the Begin with Riser and End with Riser settings in your stair design, always verify the effect it has on the overall geometry and correct undesired parameter values.
Leave a Reply
You must be logged in to post a comment.